Social sign-ins
Introduction
ROQ supports various social sign-ins like Google, Facebook, Github, and LinkedIn. Go to the ROQ Console and then select Authentication ➔ Social to activate and configure them.
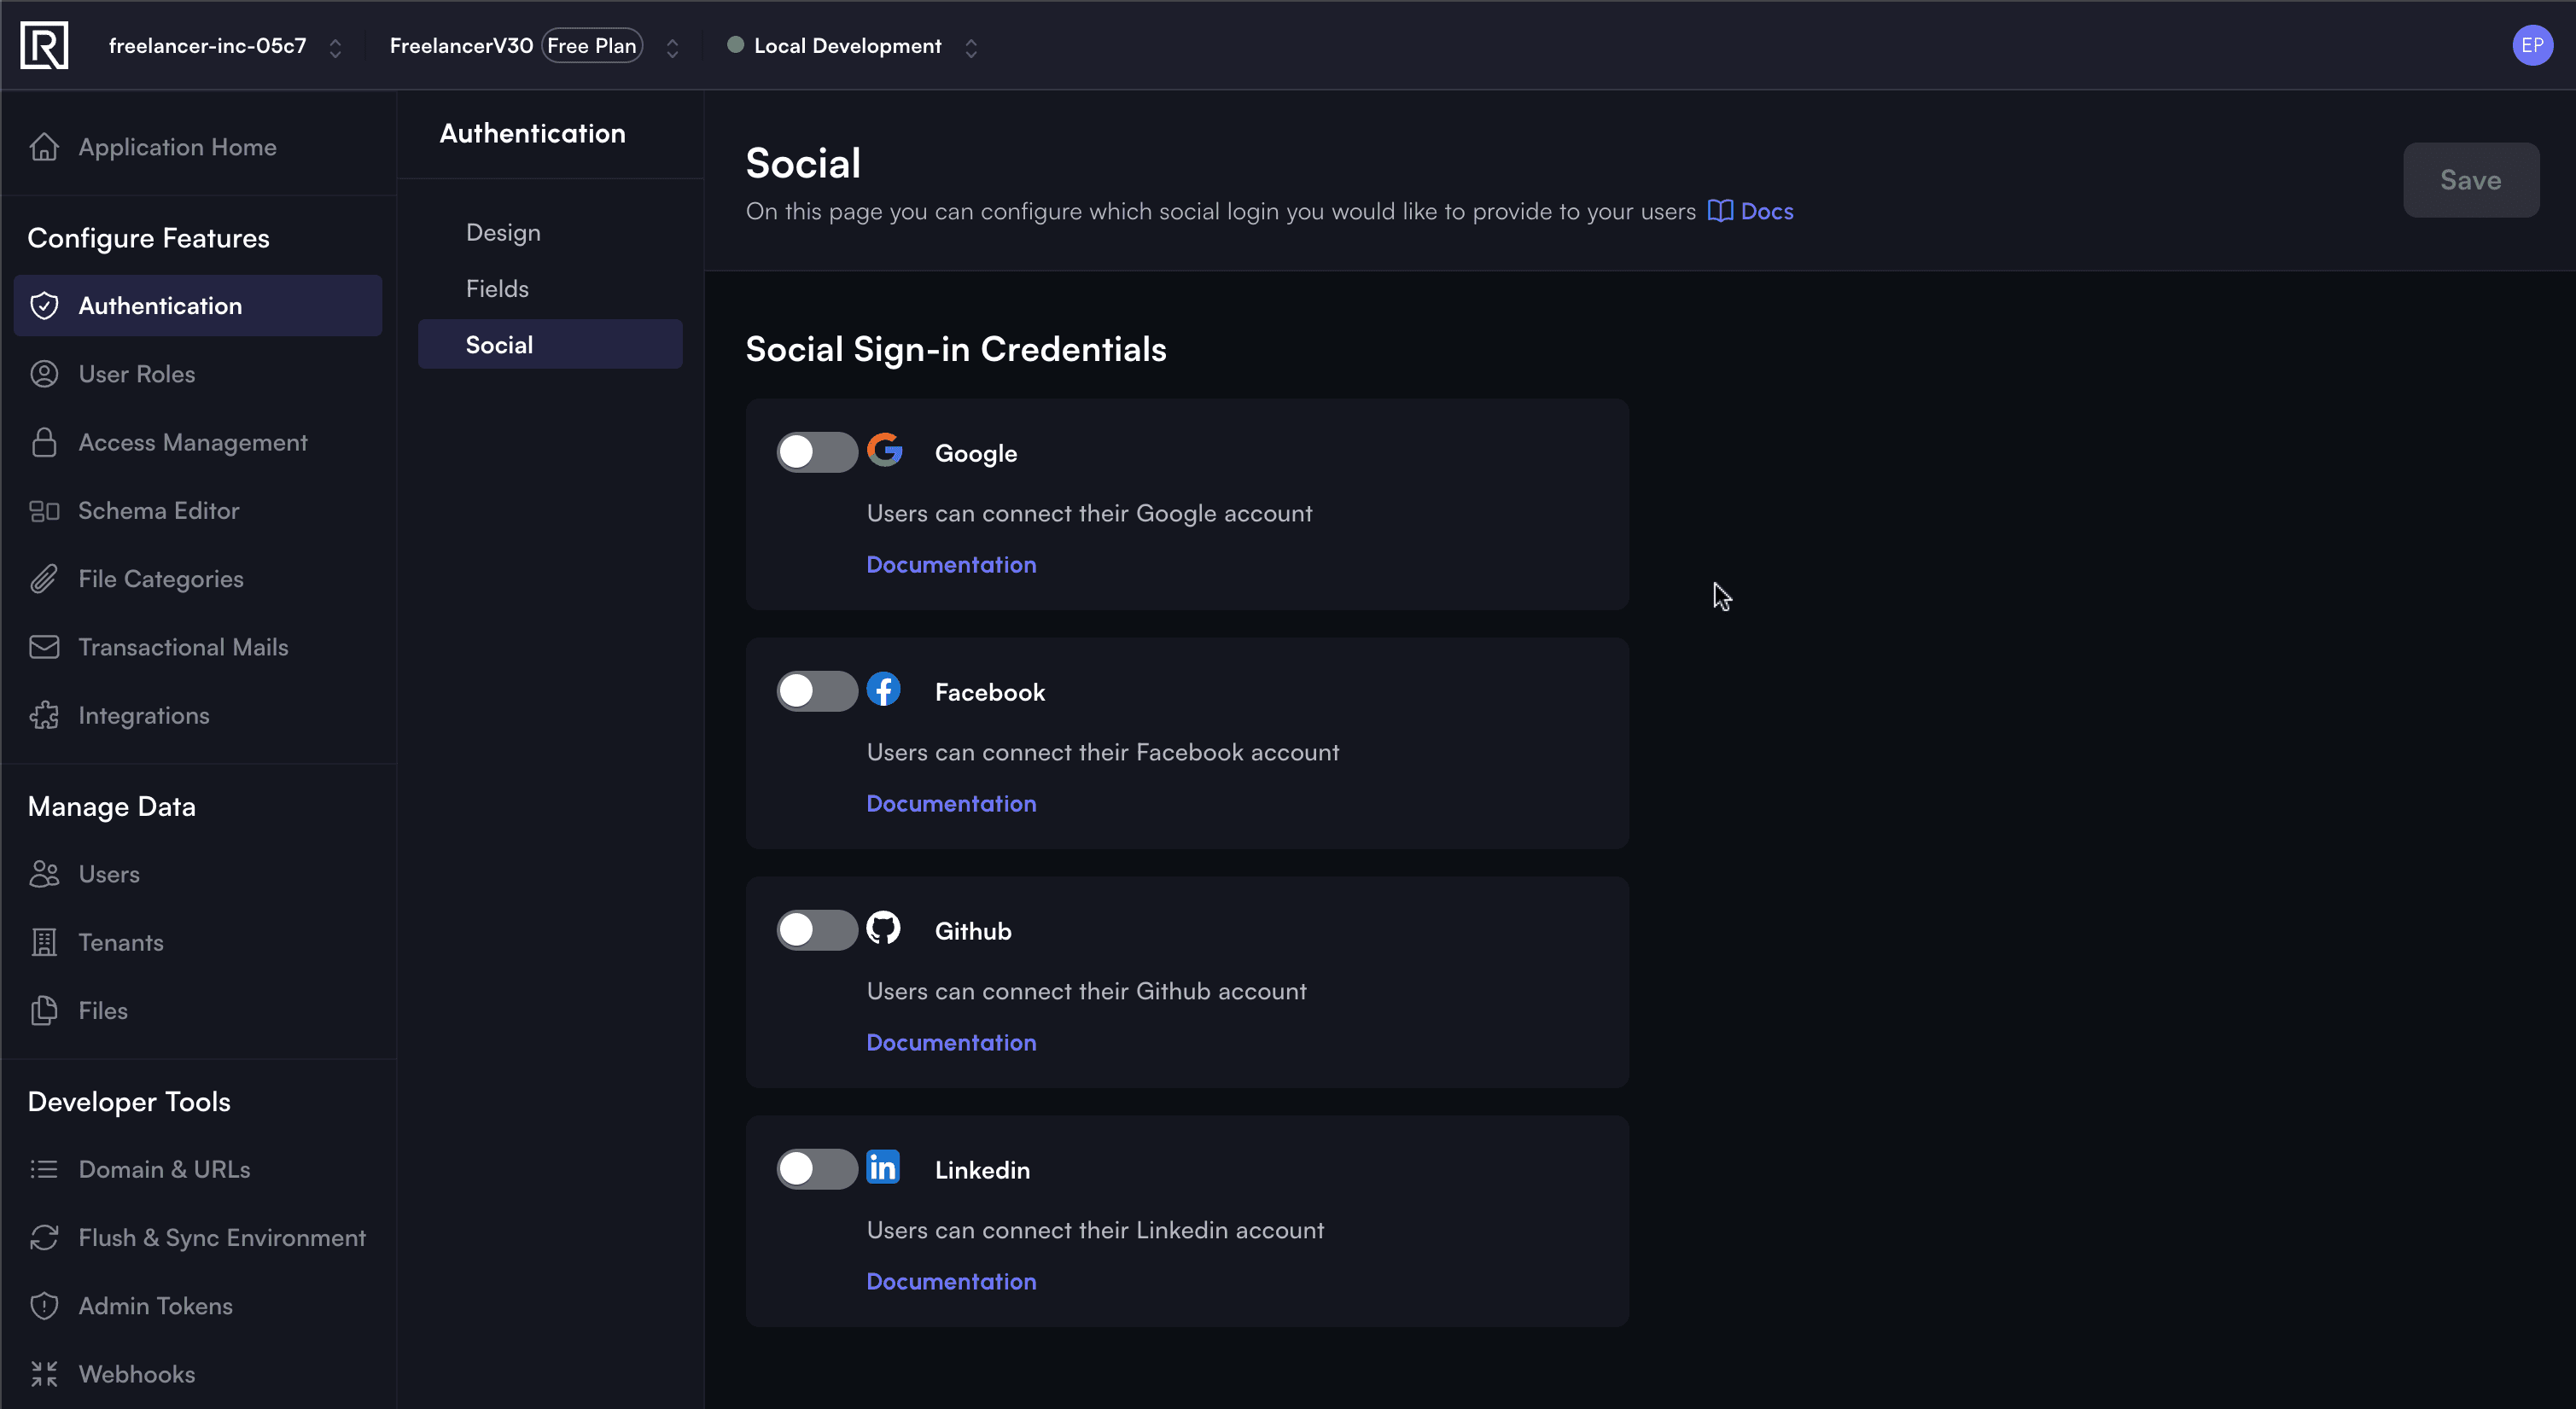
ROQ Social Sign-in
In all social sign-ins, you need to set up these two credentials on the ROQ Console:
- Client ID: Client ID for web application
- Client Secret: Client Secret for web application
These credentials are used to authenticate user login or signup with the social sign-in provider.
Google OAuth
You must follow this guide (opens in a new tab) first to set up OAuth 2.0 and then continue with the guide below.
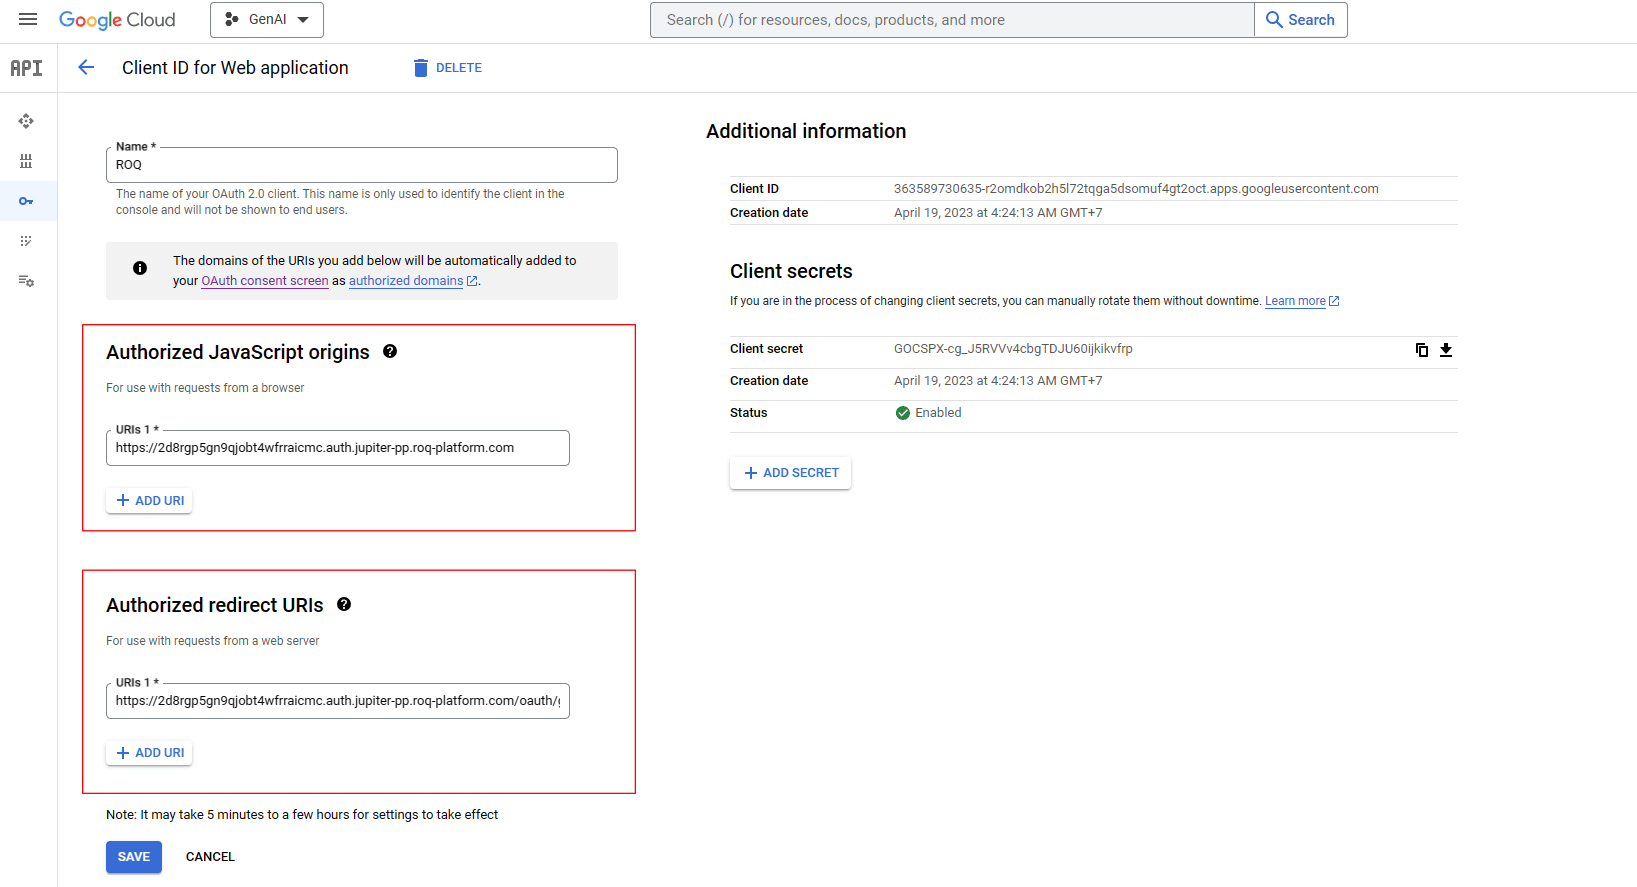
In the Google OAuth setting page, you need to set these two mandatory fields:
Authorized Redirect URIs
This URI setting is used to redirect users after they have authenticated with Google. Fill this with Auth Redirect URI from the ROQ Social Sign-in page.
https://2d8rgp5gn9qjobt4wfrraicmc.auth.jupiter-pp.roq-platform.com/oauth/google/redirectAuthorized JavaScript Origins
The HTTP origins that host your web application. This value can't contain wildcards or paths. The value must be the authentication hostname of the environment:
https://<prefix>.auth.jupiter-pp.roq-platform.comThat is:
https://2d8rgp5gn9qjobt4wfrraicmc.auth.jupiter-pp.roq-platform.comThe settings for both options are displayed in the screenshot below.
Once activated, Google Sign-in can be used as a registration or login option. The next step is to add this Google Sign-in to the registration form.
How to Add Social Sign-in
To add Google Sign-In to the login or registration form variants, you should enable it in the Social Sign-in options. Go here for more information about customize the registration form.